Why Footwork Is the Foundation
Every tennis shot begins before the racket moves. The moment your feet arrive late, or stop in the wrong position, the resulting stroke is compromised regardless of how technically sound your swing might be. Contact point — the precise location in space where racket meets ball — is entirely determined by where your feet have placed your body. Move too late and contact is too close to the body, forcing a cramped swing. Over-run the ball and contact is too far in front, producing a flick or slice to compensate.
This is why coaches at every level say footwork is the foundation: it is not one skill among many, it is the skill that makes all other skills possible. A player with excellent groundstroke mechanics but poor footwork will consistently under-perform against a player with average mechanics but precise, efficient movement. The ball does not wait for you — you have to be ready, balanced, and positioned before it arrives.
The Height Challenge: Sharapova's Example
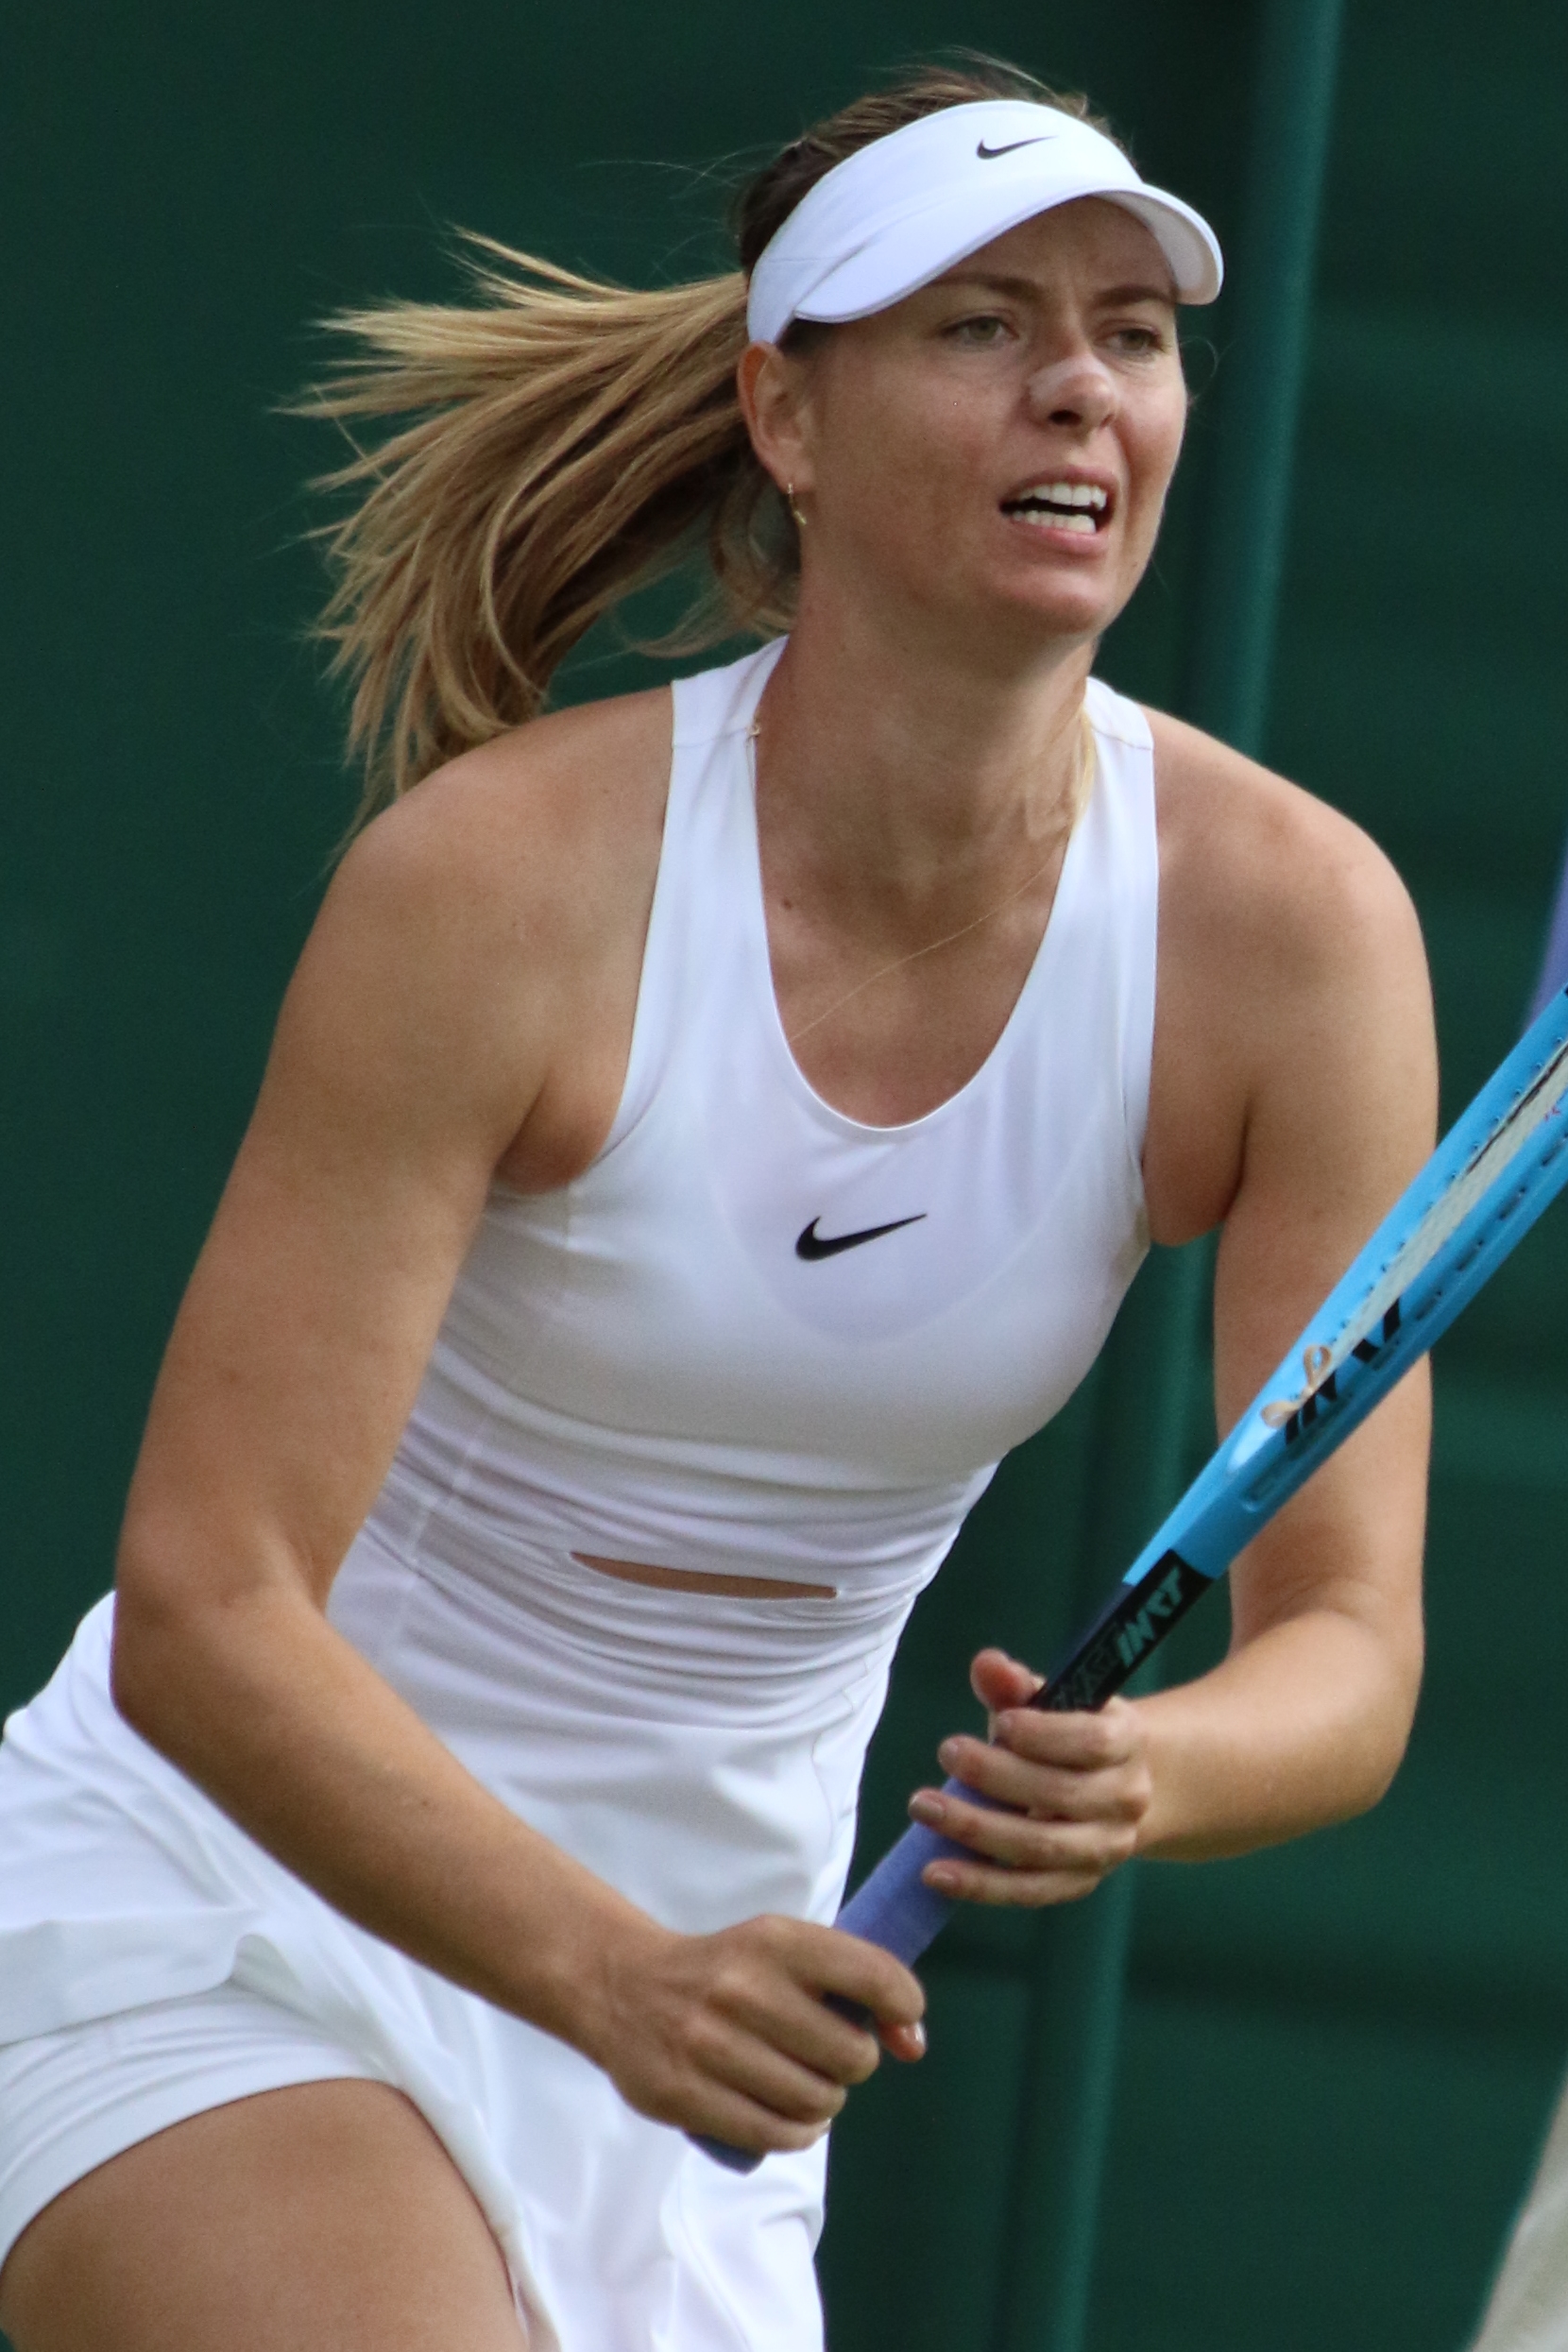
At 188 cm (6'2"), Maria Sharapova was one of the tallest players ever to compete at the highest level of women's tennis. Height is a significant advantage on serve, but it presents genuine challenges for court movement: a taller body has a higher centre of gravity, which slows directional changes; longer legs cover more ground per stride but require more time to initiate movement; and the distance from hip to foot means lower-body adjustments take slightly longer to propagate into racket position.
Yet Sharapova was never considered a liability on court coverage. She compensated through an exceptionally aggressive baseline position, disciplined split-step timing that allowed her to react early rather than chase, and a training programme that specifically targeted explosive first-step quickness. Her example demonstrates that footwork is primarily a trained skill — not simply a product of physical dimensions.
The Split Step
The split step is the single most important footwork skill in tennis. Without it, every other movement pattern is slower, less efficient, and less responsive. With a well-timed split step, a player gains a critical fraction of a second that makes reaching the next ball the difference between offensive and defensive positioning.
What It Is
A split step is a small two-footed hop — feet landing slightly wider than shoulder-width apart, knees bent, weight distributed evenly across both feet, body balanced and alert. It is not a large jump. The air time is minimal — less than 0.1 seconds in most cases. The purpose is not height but preparation: landing with both feet simultaneously forces the muscles of the lower body into a loaded, coiled state from which movement in any direction can begin immediately.
Timing: The Critical Variable
The split step must be timed precisely to your opponent's racket-ball contact. The sequence is:
- Watch your opponent preparing to swing — reading their body shape and racket path.
- As their racket approaches the ball, begin the small hop upward.
- Land on both feet simultaneously at the moment — or a fraction before — their racket makes contact with the ball.
- From the landed position, push off explosively in the direction the ball is travelling.
If you land too early, you will have already straightened your legs before the ball's direction is clear — losing the loaded position. If you land too late, you have turned a proactive movement into a reactive chase. The window of optimal timing is narrow, which is why split-step consistency takes deliberate, repetitive practice to ingrain.
The Physics: Stretch-Shortening Cycle
The split step works because of a fundamental principle of muscle physiology: the stretch-shortening cycle. When you land from the small hop, the muscles of the ankles, calves, quads, and glutes are briefly stretched under load. A stretched muscle stores elastic energy — like a compressed spring — that can be released almost instantly as explosive force when the muscle contracts. This elastic energy output is significantly greater and faster than a muscle contraction initiated from a static, relaxed position.
In practical terms, this means a player who splits correctly can begin their first step toward the ball with more power and in less time than a player who is simply standing still and then running. The difference appears small on any single ball but compounds across hundreds of rallies in a match.
How to Practise It Alone
You do not need a training partner or a ball to groove the split-step reflex:
- Shadow split step: Stand at the baseline. Imagine an opponent at the other end. As you visualise their swing, perform the split step and then immediately push off to one side for two or three shuffle steps. Reset and repeat continuously for 60 seconds.
- Wall hitting: Hit against a wall at medium pace. Use every rebound as your cue to split step before pushing to retrieve. The rapid ball return forces you to time the step under pressure.
- Jump rope: The small, two-footed rhythm of a standard jump rope mimics the split-step motion and builds the ankle and calf strength needed to execute it efficiently over long match durations.
- Reaction-band split step: Attach a light resistance band around your knees. Perform split steps with an immediate lateral push against the resistance. This isolates and strengthens the hip abductors that drive initial lateral movement.
Lateral Movement
After the split step, the most common movement in tennis is lateral — to the right or left to retrieve a ball wide of centre. There are two primary techniques for moving sideways: the shuffle step and the cross step (crossover). Knowing when to use each is as important as knowing how to execute both.
The Shuffle Step
The shuffle step keeps your body facing the net throughout the movement. You step the lead foot in the direction of movement, bring the trailing foot to follow, and repeat — never crossing the feet. Shoulders remain squared, and the racket stays in front of the body, ready for contact.
Use the shuffle step when:
- The ball is within two to three steps of your current position.
- You need to keep the racket in a ready position for a quick exchange.
- Approaching the net for a volley (maintains forward-facing ready position).
- Moving back into position after a wide recovery (returning to centre).
The shuffle is slightly slower than the crossover over longer distances, but it preserves the ability to react instantly if the opponent redirects the ball, and it keeps the body in a hitting-ready position throughout the movement.
The Cross Step (Crossover)
The cross step generates more lateral speed by allowing a longer stride. The trailing foot crosses in front of (or behind) the lead foot, producing a running stride pattern that covers more ground per step. For balls that require three or more steps to reach, the crossover is faster than the shuffle.
Use the cross step when:
- The ball is wide and requires genuine running rather than lateral sliding.
- You need to cover more than three steps of lateral distance.
- Moving backward — a crossover to the back foot allows faster retreat on a deep lob.
The trade-off is that the crossover requires a preparation step to plant and hit, meaning you need slightly more time to set up the stroke. Good players blend both techniques instinctively — shuffling for the final approach steps to a wide ball after a crossover gets them there.
Recovering to Centre: The T Position
After hitting a wide ball, the most common amateur mistake is admiring the shot instead of immediately recovering. The instant a wide groundstroke is hit, the player should be moving — before seeing where the ball lands, before knowing if it is a winner. Waiting is too late.
The target recovery position is the intersection of the baseline and the centre mark — the "T" position. From here, a player can reach either corner of the court with roughly equal effort. Players who recover inside this position (too close to the net) are vulnerable to deep balls. Players who recover to one side of centre are susceptible to the open court in the opposite direction.
Shuffle Back After Wide Forehand
After hitting wide right (for a right-hander), use a shuffle step recovery — keep facing the net as you move back to the centre T. This preserves your ability to react if the opponent goes wide again. Do not turn your back on the court to run — that quarter-turn costs reaction time.
Push-Off After Wide Backhand
Wide backhand balls often pull you off the court to the left. After contact, push off the left (lead) foot to initiate the return to centre. A short jab step with the left foot, then crossover with the right, is the most efficient recovery pattern for deep-pulled backhand positions.
The "Emergency" Wide Ball
On extreme wide balls — where you are fully stretched and have no time for proper recovery — immediately after contact turn and sprint back to the T using full running stride. Shuffle stepping from extreme positions is too slow. The priority is getting back to defend the next shot, not maintaining a pretty recovery form.
The Recovery Step
Recovery positioning is one of the most undervalued skills in club-level tennis. Many players focus entirely on reaching the next ball but give no thought to where they are standing when their opponent hits. Professional players plan their recovery before they hit — they already know where they are going as the ball leaves their racket.
Default Baseline Position
The standard default position for a baseliner is approximately one metre (three feet) behind the baseline, centred on the T. From here, a player can:
- Reach balls hit to either corner in roughly equal time.
- Move forward aggressively to attack a short ball.
- Recover backward to handle a deep lob without being immediately pushed behind the service line.
Standing too close to the baseline limits backward recovery options and exposes you to pace from deep balls. Standing too far back — more than two metres behind the baseline — allows your opponent to hit short-angled balls that you cannot reach, and gives up any offensive positioning on medium-depth balls.
Depth Positioning Based on Opponent's Position
Your ideal court depth changes depending on where your opponent is standing when they hit:
| Opponent's Position | Likely Ball Depth | Your Ideal Position |
|---|---|---|
| Behind their own baseline (deep) | Ball will land shorter — they can't generate deep pace from deep | Step inside baseline by 0.5–1 m; be ready to attack |
| At their baseline (neutral) | Standard depth ball | Default position: 1 m behind baseline, centred |
| Inside their baseline (attacking) | Ball will likely be deep and fast, or angled | Move back 0.5–1 m behind baseline; wider split-step stance |
| At net | Volley — fast, low, angled; or lob | Move back 1.5–2 m; prepare to lob or drive passing shot |
| Serving (first serve) | Fast, skidding — less margin for return | Stand 0.5–1 m behind baseline; wider ready stance |
Moving to Short Balls
A short ball — one that lands inside the service box — is an opportunity. The player who recognises it early and attacks with proper footwork puts the opponent on the defensive. The player who hesitates, reads it late, or arrives off-balance turns an opportunity into a scramble.
Closing Footwork
The movement pattern to a short ball involves three phases:
- Recognition and initial push: As soon as the ball trajectory indicates a short bounce, push off the back foot and take a crossover step forward. Do not shuffle toward a short ball — crossover steps cover the distance faster and use your momentum to load the approaching shot.
- Adjustment steps: As you close on the ball, transition from running strides to shorter adjustment steps — two or three small steps that fine-tune your position for optimal contact point. These steps set up the stance for the approach shot.
- The approach split step: If you choose not to end the point outright from the short ball and instead approach the net, a split step at the service line is needed before continuing forward. This allows you to pause, read your opponent's passing shot attempt, and move to intercept the volley from a balanced position.
Using Momentum Forward
Many players stop their forward momentum when they hit an approach shot, planting and hitting statically. More effective technique uses the forward momentum through the shot — stepping into the ball with the hitting foot (left foot for a right-hander's forehand approach) and continuing the movement toward the net immediately after contact. This shortens the distance to the net, improves net coverage, and is instinctively more threatening to the passing shot attempter.
Movement to Net
Approaching the net requires a precise sequence of footwork that most club players never consciously practise — which is why many club players are uncomfortable at net. The movement pattern must account for reaching the net quickly, arriving in a balanced ready position, and covering the maximum court width for a volley.
The Net-Approach Split Step
After hitting an approach shot, move forward toward the net with deliberate, progressive steps. As your opponent prepares to swing at their passing shot, perform a split step. Timing here is identical to the baseline split step — land as their racket meets the ball. From the landed split step:
- If the ball is going to your forehand side, push off the left foot and step right toward the volley.
- If going to your backhand, push off the right foot and step left.
- If the opponent lobs, pivot and use a crossover step to retreat.
The ideal position to be in when the split step lands is the mid-court "T" — approximately one metre inside the service line, centred between the sidelines. From this position, you can cover approximately 70–80% of the court for a first volley.
Volley Ready Position
At the split step landing during net approach, your body should be in the volley ready position:
Feet
Shoulder-width apart or slightly wider, parallel to the baseline. Weight distributed evenly on both feet, slightly forward on the balls of the feet. Knees bent — about 20–30 degrees — to lower the centre of gravity.
Racket
Held in front of the body, between hip and shoulder height. Wrist firm, face roughly perpendicular to the net. Continental grip ready for quick forehand and backhand volley transitions without grip change.
Eyes
Locked on the opponent's racket and ball — not the net. The net is a known fixed object; the ball's direction is the unknown. Focus narrows to contact point as the ball is struck.
Closing Footwork
After the first volley, continue moving forward if the opponent is pushed deep. The closer you are to the net, the more court you cover and the more angle you can create. Stop at the T-volley position — roughly 1.5–2 m from the net — for the final exchange.
The Overhead / Smash Footwork
The overhead smash requires the most complex footwork sequence of any shot in tennis. Players who move poorly under a lob — flat-footed, retreating in the wrong direction, or misjudging depth — either miss the smash or produce a weak, attackable response. The footwork for overheads must be drilled into muscle memory because there is rarely time to think about it consciously during a point.
Shoulder Turn and Shuffle Back
The first movement cue for an overhead is a lob going over or above your current position. The instant you recognise the lob:
- Turn the shoulder: The non-dominant shoulder turns to face the back fence. For a right-hander, the left shoulder turns right. This rotation opens the hips and begins the backward movement chain.
- Point the non-hitting arm: Raise the non-hitting arm to point at the ball in the air. This regulates balance and depth perception — the same function a catcher's off-hand plays in baseball. Players who skip this step frequently misjudge the ball's trajectory.
- Shuffle back: For lobs that land near the service line, shuffle backward — keeping your body sideways to the baseline — rather than turning and running. The sideways shuffle preserves your view of the ball and allows continuous adjustment as the ball descends.
Crossover Step for Deep Lobs
When the lob carries further than a shuffle can handle, turn and run with a crossover step pattern. The non-hitting arm continues to point at the ball overhead during the retreat. As you reach the estimated landing point, plant the back foot, turn your hips to face the net, and time the overhead strike at approximately the same contact point as a serve — arm fully extended, contact slightly in front of the body.
Jump Smash Footwork
For lobs that are reachable but slightly behind the optimal contact point, or when moving forward to cut off a short lob, a jump smash is often the correct choice. The footwork sequence:
- Plant the back foot (right foot for right-handers) as you load to jump.
- Take off primarily from the back foot, scissor-kicking the legs mid-air.
- Contact the ball at full arm extension at the top of the jump — or slightly on the descent.
- Land on the front foot (left for right-handers) with bent knee to absorb the impact.
The scissor kick is crucial — it rotates the hips through the contact, generating pace, and also provides the balance needed to land cleanly without stumbling forward into the net.
Direction Change Drills
Footwork patterns must be practised in isolation before they become automatic in match conditions. The most effective way to train court movement is through cone drills that isolate the movement patterns, add reaction time pressure, and can be combined with ball feed to simulate match conditions.
The Core Cone Drills
| Drill | Setup | Movement Pattern | Primary Benefit |
|---|---|---|---|
| Star Drill | 5 cones — one in centre, four at corners of a 3m square | Sprint from centre to each corner and back, touching each cone before returning to centre | Multidirectional first step, directional change under fatigue |
| T-Drill | 4 cones in a T shape — 5m straight, 5m across | Sprint to first cone, shuffle left, shuffle right, shuffle back to centre, backpedal to start | Lateral shuffle speed, forward/backward transitions, shuffle technique |
| Spider Drill | 6 cones: one at centre of baseline, one at each corner, one at each side T | Starting from centre, touch each cone in sequence — sprint, shuffle, or backpedal as required by direction | Court coverage simulation; combines all movement directions |
| Baseline Shuffle | Cones at singles sidelines and centre T | Shuffle from centre to right sideline, back to centre, to left sideline — repeat for 30 seconds | Pure lateral speed; baseline recovery simulation |
Integrating with Ball Feed
Cone drills train movement patterns, but they lack the anticipation and ball-reading element of match footwork. The most realistic footwork training combines movement with live ball feed:
5-ball feed pattern: A coach or feeder stands at the net or service line and feeds balls in a set sequence — for example, wide right, wide left, short centre, deep right, short left — with the player recovering to the T position between each ball. The player knows only that the next ball is coming, not where. This trains both movement patterns and the split-step timing needed to react to each new ball.
Begin with slow, predictable feeds and a generous recovery period. As movement patterns become automatic, increase feed pace and reduce recovery time until the drill resembles match-pace pressure.
Footwork for Different Court Surfaces
The surface you are playing on fundamentally changes how your feet interact with the court — and therefore how you should move. Players transitioning between surfaces often find their timing is off, their split steps are wrong, and their recovery patterns are inefficient until they recalibrate to the surface's specific demands.
Clay Courts
Clay is the heaviest surface for footwork. The granular, slightly loose surface creates resistance in every step. Shoes sink slightly into the clay, slowing maximum lateral speed but allowing one technique unavailable on hard courts: the slide. On clay, players slide into their shots — planting the outer foot and allowing momentum to carry the body sideways into a wide hitting position, then using the surface resistance to stop. This slide extends reach, reduces impact forces on the joints, and allows faster recovery because the slide itself repositions the body. If you have only played on hard courts, the clay slide feels alien and requires specific practice to ingrain.
Hard Courts
Hard court footwork is the baseline reference — no sliding, no surface assistance, just precise footwork on a surface that offers consistent but firm traction. Hard courts demand exact footwork because the surface provides no margin for error. A step that is slightly off-balance on clay can be corrected mid-slide; on hard court, that step results in contact at a compromised position. Hard courts are also the most physically demanding surface for footwork due to impact forces — every split step, plant, and push-off transfers directly through the foot, ankle, and knee without absorption. The correct footwork on hard courts lands on the midfoot or forefoot rather than heel-striking, which distributes impact more efficiently.
Grass Courts
Grass is simultaneously the most explosive and the most treacherous surface for footwork. The low, fast bounce rewards players who can close quickly and take the ball early — but the surface itself is slippery, particularly after rain or in humid conditions. Lateral cuts that are routine on clay can result in slipping on grass. Footwork on grass demands short, choppy adjustment steps rather than long, confident strides. Weight must stay lower and more centred. The first step must be cautious enough to test grip before committing fully. Grass court specialists develop a particular style of movement — compact, bouncy, high-frequency steps — that is visibly different from the wider, more powerful strides of clay specialists.
Adapting to a New Surface
When switching surfaces — particularly from hard court to clay, or clay to grass — allow at least two to three training sessions for footwork recalibration before match play. In those sessions, focus entirely on movement without the pressure of a ball. Practise split steps on the new surface. Feel how quickly you can change direction. Identify how much grip the surface provides before committing to an explosive lateral push. Players who skip this surface adaptation period play their first matches with borrowed movement patterns — technically correct for a different court, subtly wrong for the current one.
Frequently Asked Questions
Why is footwork more important than stroke technique in tennis?
Because even a technically perfect stroke produces poor results if you arrive late to the ball. Good footwork ensures you reach the ball in balance with time to set up properly. Professional coaches estimate that 60–70% of errors in recreational tennis come from poor positioning rather than faulty technique.
What is a split step and how do I time it correctly?
A split step is a small simultaneous two-footed hop that pre-loads your muscles before pushing off in any direction. Time it to land exactly as your opponent's racket makes contact with the ball. Practice by watching someone serve and performing only the hop without moving — your body learns the timing naturally.
How can I improve my court coverage?
Practice the three-step drill: split step, first step in the correct direction, and recovery step back to centre after each shot. Also work on the T-drill and spider drill (described in the article) to improve multi-directional speed. Video yourself during practice to see whether you're recovering to centre position consistently.
Why does my movement feel sluggish even though I exercise regularly?
Tennis movement uses different muscle activation patterns to most other sports. Explosive lateral movement and multi-directional deceleration (stopping and changing direction) require specific training. Running long distances trains linear endurance but not the explosive, reactive movement tennis demands. Add lateral bounds, cone drills, and reactive split-step practice.