Why the Serve Is the Most Important Shot
The serve begins every single point. A great serve wins points outright (aces), forces weak returns you can attack, and puts psychological pressure on your opponent. A weak serve, on the other hand, invites your opponent to dictate from the first ball.
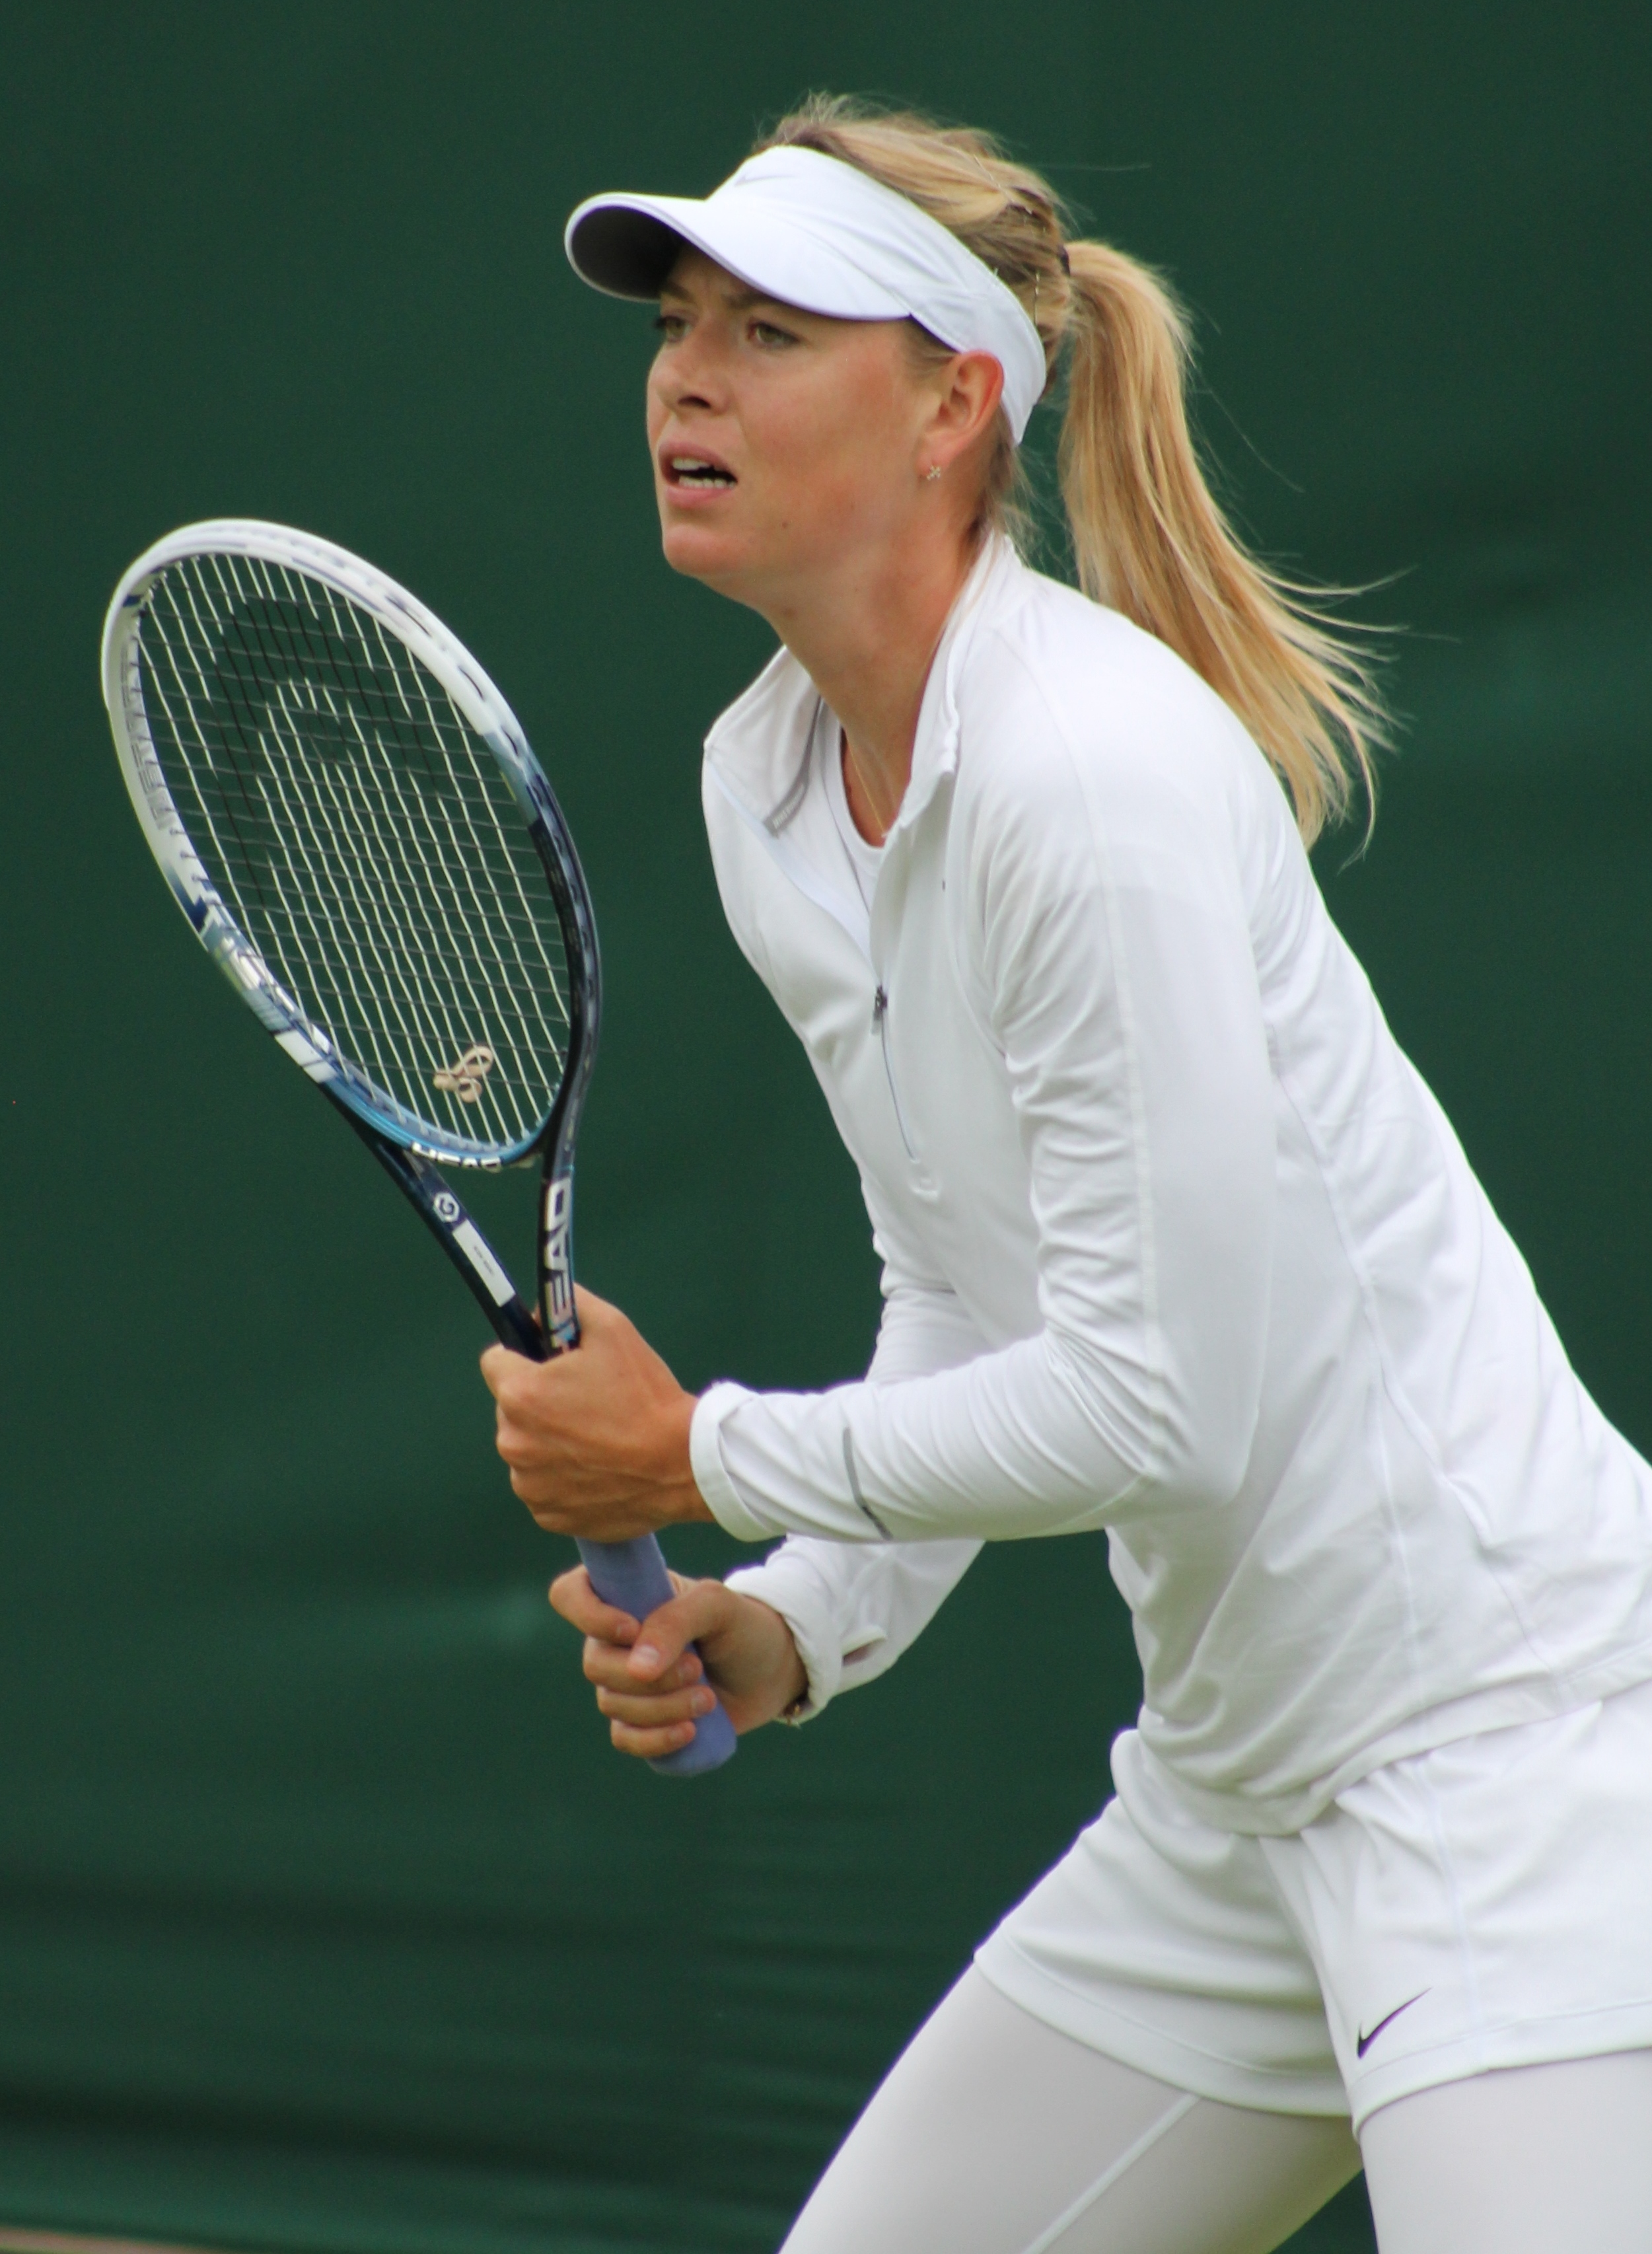
At the elite level, a powerful first serve won around 70-75% of points. For Maria Sharapova, her serve was the cornerstone of her game — at 188cm (6'2"), she generated extraordinary leverage and consistently hit first serves above 180 km/h (112 mph), making her one of the most powerful servers in women's tennis history.
The Continental Grip
The first and most fundamental requirement: use the Continental grip for your serve. If you hold the racket like you're using a hammer (the "V" between your thumb and index finger is aligned with the top bevel of the handle), that's the Continental grip.
Why does the grip matter so much? The Continental grip allows your wrist and forearm to rotate naturally through the serve motion, enabling you to hit flat, slice, or kick serves without changing grip. Any other grip (Eastern, Western) locks out this rotation, severely limiting your power and spin capability.
Hold the racket with the Continental grip and look at the strings — they should naturally be at a slight angle to the ground. If you were to swing and hit a ball with no wrist rotation, the ball would go to the right (for right-handers). This angled face is what enables the proper rotation through contact.
The Two Stances
There are two accepted serving stances in professional tennis:
1. Platform Stance
Both feet are in a fixed position from start to finish. The non-dominant foot (left foot for right-handers) is angled roughly 45 degrees toward the right net post. The dominant foot (right foot) is parallel to the baseline. This is the most stable stance and is recommended for beginners.
2. Pinpoint Stance
The dominant foot starts behind the baseline and moves toward the non-dominant foot as the serve motion progresses. Many professionals, including Maria Sharapova, used a variation of this, allowing slightly more body rotation and weight transfer into the ball at contact. The pinpoint stance can generate more power but is less stable and harder to learn.
The Serve Motion: Step by Step
Step 1: The Ready Position
Stand sideways to the net (or slightly open). Hold the racket in front of you at waist height in your dominant hand, and hold the ball in your non-dominant hand. Relax your shoulders — tension kills the serve motion.
Step 2: The Shoulder Turn and Backswing
As your arms begin to move, turn your shoulders so your non-dominant shoulder points toward the target. The racket begins to drop toward your hip — the "trophy position" begins here. Both arms should move simultaneously: the ball arm rises for the toss while the racket arm swings down and back.
Step 3: The Ball Toss
The ball toss is the single most important element of the serve. A consistent, well-placed toss makes everything easier; a bad toss ruins the entire motion. Key points:
- Hold the ball with your fingertips, not palm — this gives you more control.
- Lift the ball smoothly upward with a straight arm (no flicking of the wrist).
- Release the ball at shoulder height and let your arm continue upward.
- For a flat serve, toss slightly in front of your body (at 12 o'clock or 1 o'clock for right-handers) — this is where Maria's toss went, slightly out in front and to the right.
- For a slice serve, toss at 3 o'clock (more to the right side).
- For a kick serve, toss slightly to the left (11 o'clock position) to allow the racket to brush up and over the ball.
Step 4: The Trophy Position
The "trophy position" is the key checkpoint in your serve. It occurs when your body is fully coiled and ready to explode upward: your knees are bent, your non-dominant arm is pointing toward the ball high above you, and your racket hand is positioned behind your head with the racket pointing up and back. Your body is shaped like a trophy — hence the name.
From this position, the upward drive begins. Straighten your knees, rotate your hips and shoulders forward, and swing your racket arm upward toward the ball.
Step 5: Contact Point
Contact should happen at the highest point of your reach — fully extended arm above your head, slightly in front of your body. For a right-handed player, this is roughly 1-2 feet in front of the baseline and above your head. The higher the contact point, the better your angle into the service box, and the less likely you are to net the serve.
- Flat serve: Hit through the back of the ball, pronating (rotating) your forearm so the palm faces outward at contact.
- Slice serve: Brush across the outside of the ball (3 o'clock position) with your racket moving from left to right at contact.
- Kick serve: Brush up and across the ball (from 7 o'clock to 1 o'clock) to generate heavy topspin.
Step 6: Follow-Through
After contact, allow your arm to continue naturally downward across your body, finishing on the left side of your body (for right-handers). Your dominant foot should land inside the baseline as you complete the motion. Don't hold back the follow-through — it's a natural consequence of the swing, not something to force.
The Three Types of Serves Explained
Flat Serve (The Power Serve)
The flat serve hits the ball squarely with minimal spin. It travels in a relatively straight line at maximum speed. When executed correctly, it is almost impossible to return — an ace. The risk: it passes over the lowest part of the net with the least margin for error, so it has the highest fault rate. Use it on first serves when you want to win the point immediately.
Speed range (professional): 180–240 km/h (112–149 mph)
Slice Serve (The Wide Serve)
The slice serve generates sidespin, curving the ball out to the side — most effectively pulling opponents out wide to the doubles alley on the right (ad) side court. It's a key tactical weapon for opening up the court. On the right side, a wide slice serve can pull opponents so far off court that the entire court is open for the return.
The slice also stays low after bouncing, making it difficult to attack. As a second serve, a body slice — aimed directly at the opponent's body — is an excellent neutralizer that prevents them from taking a full swing.
Kick Serve (The Safe Serve)
The kick serve is the safest second serve in professional tennis. Heavy topspin causes the ball to arc high over the net (giving it a generous margin for error) and kick up high after bouncing — usually to the opponent's shoulder or above. This is difficult to attack aggressively and allows the server time to recover position after the serve.
Learning the kick serve requires proper continental grip and the ability to brush up the back of the ball — it is the most technically demanding serve but also the most rewarding for court players who rely on a consistent second serve.
Second Serve Strategy
The second serve is one of the most pressure-loaded moments in tennis. Double-faulting gives your opponent a free point and harms your mental game. Professional second serves should be:
- Hit with more spin than the first serve (kick or heavy slice)
- Aimed to land deeper in the service box to prevent short-ball attacks
- Targeted at the opponent's weaker side (usually the backhand)
- Varied in placement to prevent the opponent from anticipating
Maria Sharapova, despite her powerful first serve, was sometimes criticized for a second serve that could be attacked. She addressed this late in her career by adding more kick to her second delivery.
Serve Placement Tactics
| Serve From | Target Wide | Target Body | Target T (centre) |
|---|---|---|---|
| Right side (deuce court) | Out to the sideline — pulls opponent off court | Jams the forehand or hits the body | Flat down the T — hard to handle |
| Left side (ad court) | Wide to backhand — most players' weaker side | Jams the backhand or body | Flat to forehand — catches them leaning |
Common Serve Mistakes and Fixes
- Problem: Serving into the net. Fix: Toss the ball higher and slightly more in front, and make contact at a higher point above your head.
- Problem: Serving long (landing beyond the service line). Fix: Toss slightly less in front, and ensure you're pronating through the ball and not steering it.
- Problem: Inconsistent toss. Fix: Practice the toss alone — just the lifting motion, letting the ball fall back to your hand. 100 repetitions daily for a week will transform your consistency.
- Problem: Loss of power. Fix: Check that your arm is fully extended at contact. If you're contacting the ball below maximum height, you lose both power and downward angle.
- Problem: Double-faulting under pressure. Fix: Develop a reliable kick or heavy slice second serve that you trust — and practice it as much as your first serve.
Practice Drills for the Serve
- Toss only: Stand in serving position and practice the toss 50 times without hitting. Let the ball fall back to your hand — assess where it lands relative to your body.
- Trophy position to contact: Practice swinging from the trophy position only, working on the arm path and pronation. No toss — just the hitting motion.
- Target practice: Place a cone or racket cover in different areas of the service box and aim for them. Precision, not power, at first.
- Serve sequences: Practice serving: wide, body, T — three in a row to each box, focusing on hitting your spots.
- Second serve under pressure: Self-impose a consequence for double faults during practice (e.g., do 10 press-ups). Artificially create pressure to learn how to handle it.