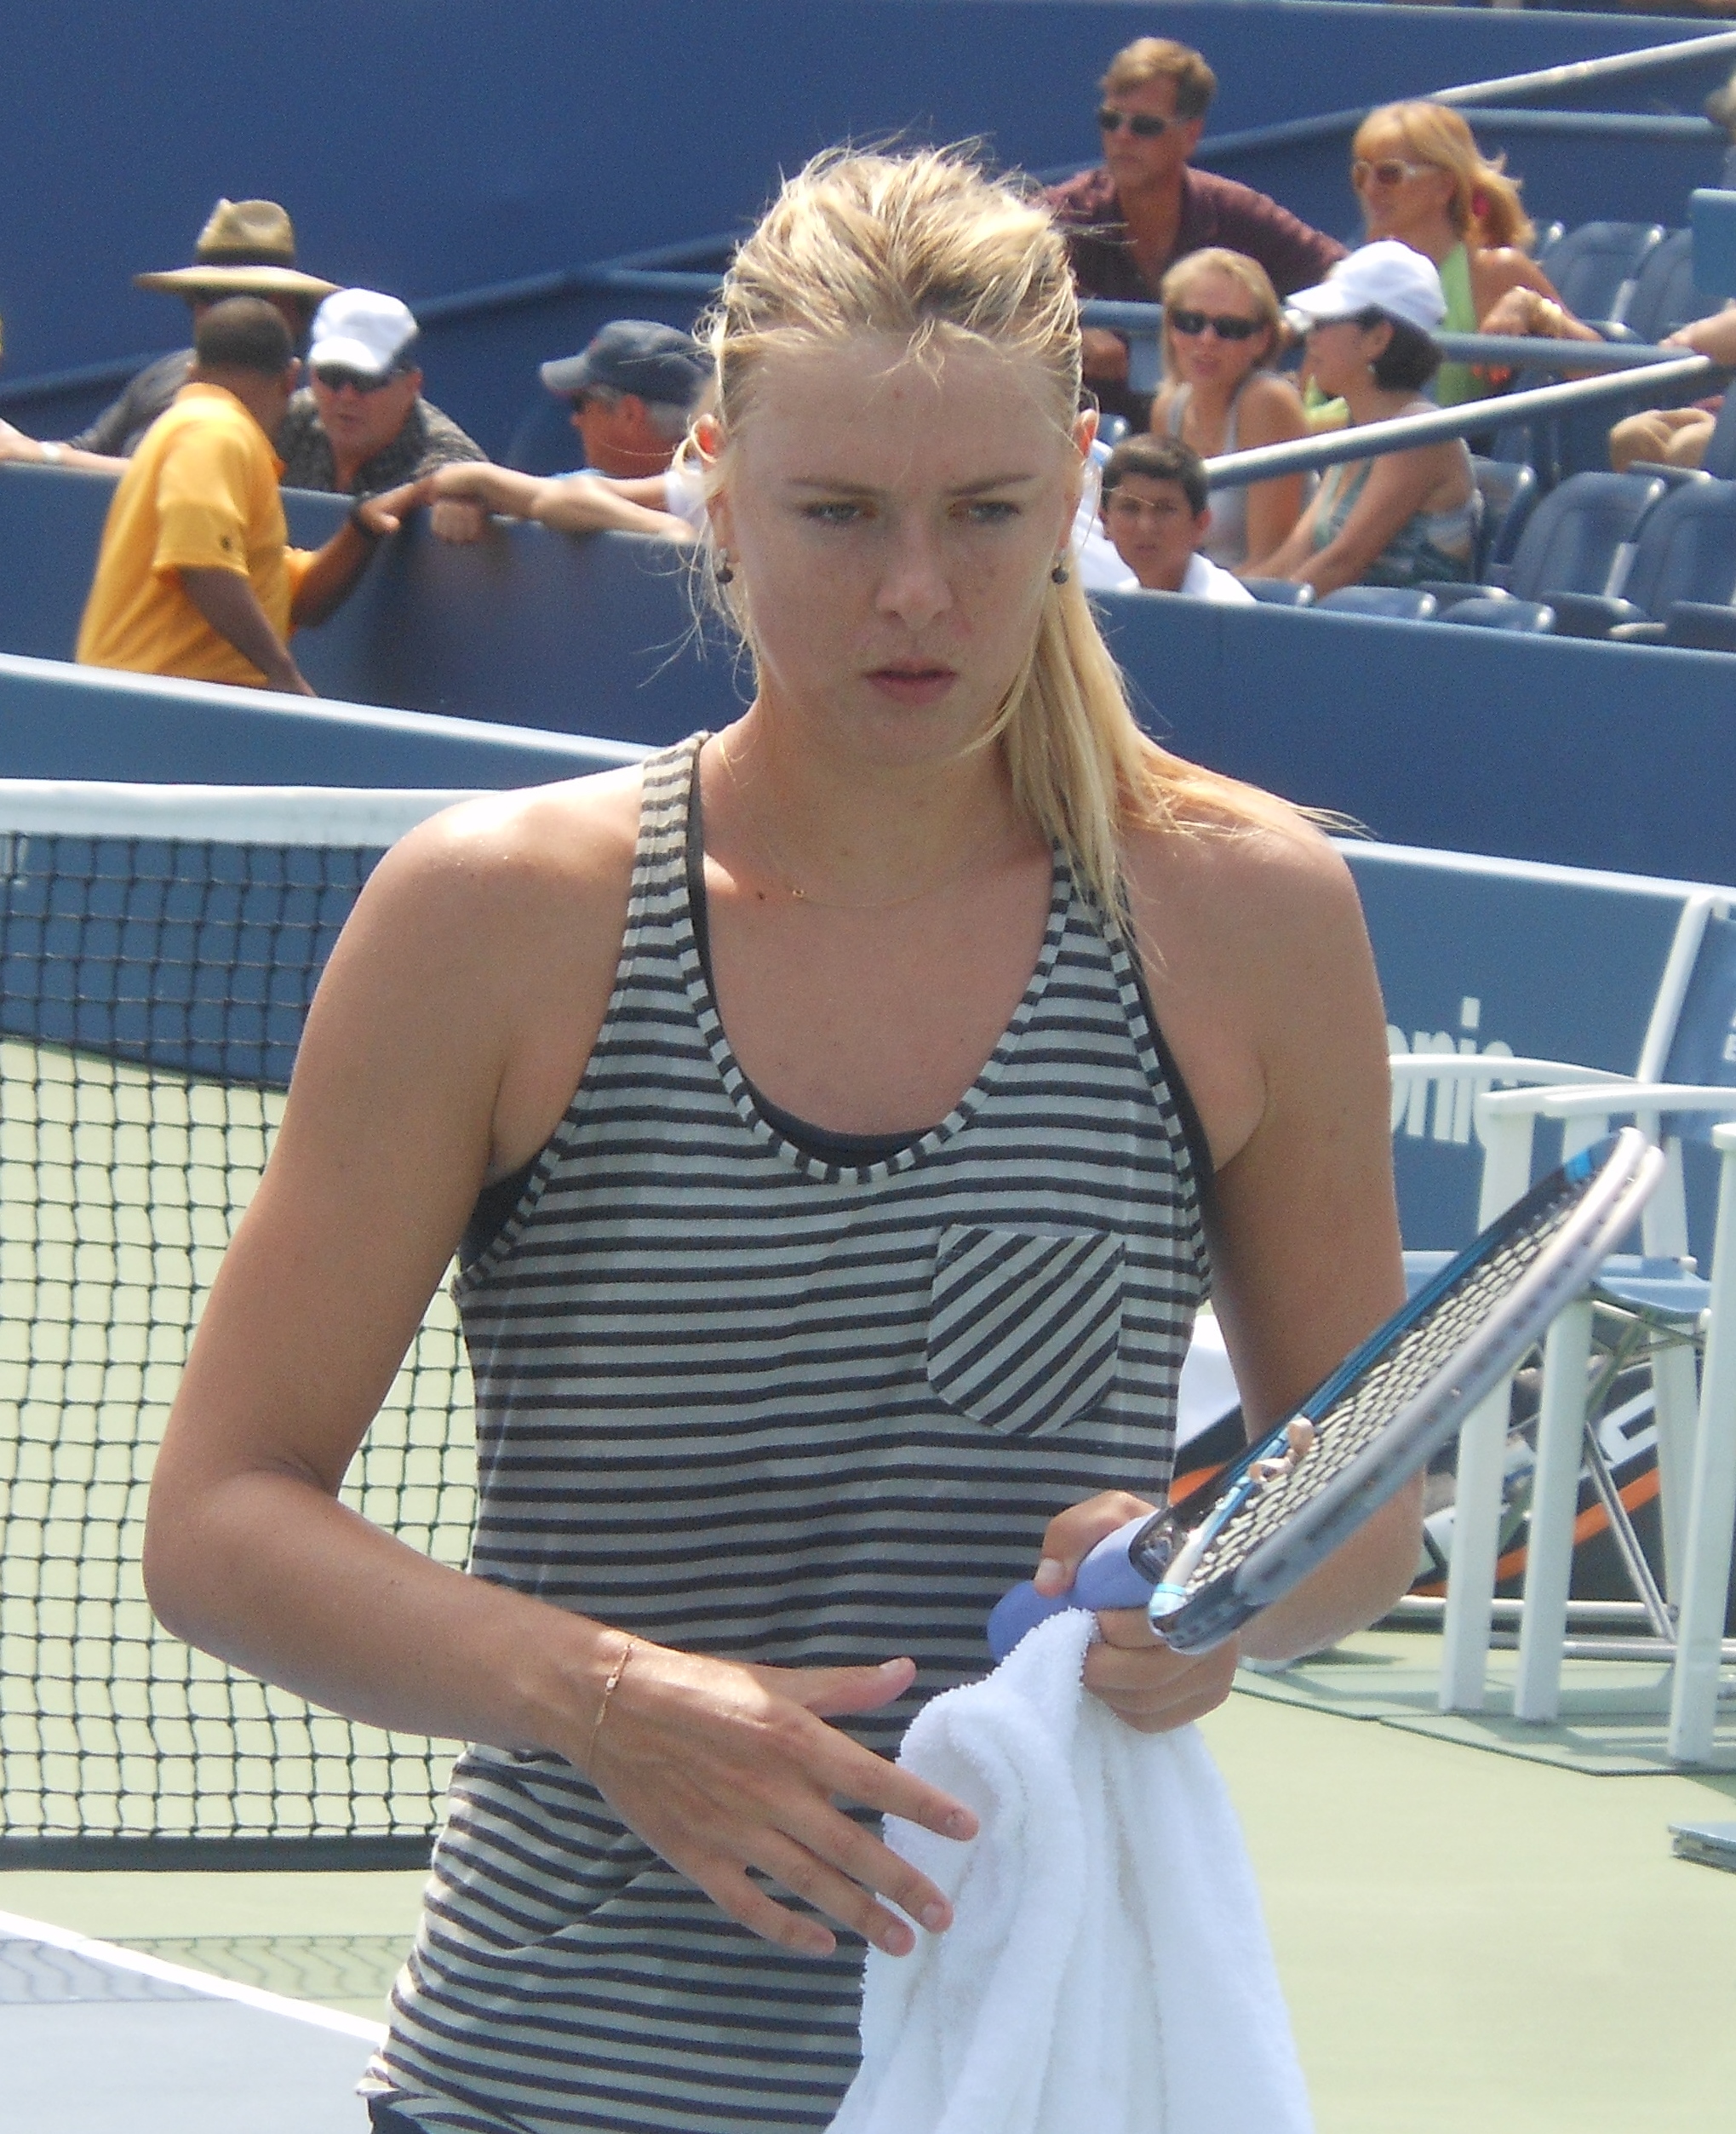
The Importance of Net Play
The volley is perhaps the most underappreciated weapon in a recreational player's arsenal. While modern tennis is dominated by powerful baseliners trading heavy groundstrokes, the ability to come forward and finish points at the net remains one of the fastest ways to win — at every level of the game.
Net play shortens points dramatically. A well-executed approach shot followed by a clean volley ends a rally in two or three strokes instead of ten. This puts physical and psychological pressure on the opponent: they must produce a precise passing shot or lob under time pressure, often while still recovering from the previous ball.
In doubles, net play is not optional — it is the foundation of the entire game. Both players on the winning team are usually at the net more often than their opponents. But even in singles, knowing when and how to volley separates players who merely rally from players who can dictate and close out points.
Ends Points Quickly
A volley winner from the net takes less than a second. Shorter points mean less energy spent and more pressure on the opponent's consistency.
Creates Pressure
An opponent facing a net player must hit with more precision and less time. Errors increase — even without the volleyer doing anything exceptional.
Essential in Doubles
Teams controlling the net win the vast majority of points in doubles. The volley is the primary weapon, not an afterthought.
Sharapova's Approach Game
Though primarily a baseline warrior, Sharapova used the approach-and-volley combination effectively — especially on short balls on grass and fast hard courts — to vary pace and prevent opponents from settling into a rhythm.
The Volley Ready Position
Everything in volleying begins with the correct starting position and body posture. Poor positioning makes the volley reactive and rushed; good positioning gives you fractions of a second that make all the difference.
The ideal volley position at the net is 2 to 3 metres (roughly 7 to 10 feet) from the net — close enough to put the ball away at a downward angle, but far enough back to react to a ball hit at your feet or a lob over your head. Standing right at the net cord feels powerful but eliminates your reaction time and leaves you hopelessly vulnerable to a lob.
Checklist: Volley Ready Position
- Racket head up: Hold the racket at roughly chest height with the head up and the face slightly open. Never let the head drop below your wrist — a low racket is almost impossible to raise quickly enough for a high volley.
- Continental grip: Use the continental grip for both the forehand and backhand volley without changing grip between shots. This is critical and covered in full in the next section.
- Weight forward: Lean slightly onto the balls of your feet. Your weight should be ready to move — backward steps are your last resort at the net, not your default.
- Eyes on the opponent's contact point: Watch where the opponent's racket meets the ball, not where the ball is going. This gives you a crucial extra 50 to 100 milliseconds of reaction time.
- Knees slightly flexed: Straight legs make lateral movement slow and clumsy. A soft bend in the knees keeps you explosive in any direction.
- Split step on opponent's contact: As the opponent begins their swing, perform a small hop (split step) so both feet land at the moment of contact. This loads the legs and primes you to move in any direction.
The Continental Grip Explained
The continental grip is the single most important technical element of the volley. Unlike the groundstroke game — where many players use a semi-western or eastern forehand grip and switch to an eastern backhand — the volley demands a grip that works equally well on both sides without any rotation.
The continental grip places the base knuckle of the index finger on bevel 2 of the racket handle (using the standard 8-bevel numbering system where bevel 1 is the top flat face pointing straight up). Think of it as the grip you would use to hammer a nail into the wall — the racket edge faces forward rather than the flat face.
How to Find the Continental Grip
- Hold the racket by the throat in your non-dominant hand so the racket face is perpendicular to the ground (edge pointing up).
- Place your dominant hand on the handle as if shaking hands with someone who is standing directly beside you. Your palm sits naturally on the side of the handle.
- Close your fingers around the grip. Your thumb and index finger form a V that runs along the top bevel of the handle.
- Check: when you extend your arm forward with this grip, the racket face should be slightly open — angled upward by roughly 10 to 15 degrees. This is correct and desirable for volleying.
Why does continental work for volleys when it does not work for heavy topspin groundstrokes? Because volleys are punch shots, not swing shots. The slight open face of the continental grip lifts the ball over the net without requiring topspin mechanics. And crucially, you can volley on the forehand side and the backhand side with the identical grip — there is no time to change grip at the net when a ball arrives in under half a second.
Forehand Volley Mechanics
The forehand volley is hit from the dominant side of the body. The cardinal rule is that it is a compact punch, not a swing. Players who swing at volleys — taking the racket back as they would for a groundstroke — are almost always late, off-balance, and inconsistent.
Forehand Volley Step by Step
- No backswing: The racket goes back no further than your shoulder. For most balls, it goes back even less — a slight rotation of the shoulder is sufficient preparation. If the ball is very fast or you are close to the net, you may need almost no preparation at all.
- Shoulder rotation: The shoulder turn replaces the backswing. Rotate your non-hitting shoulder toward the net as you prepare. This coils the torso slightly and positions the racket in the hitting zone.
- Step into the ball: Step forward with the opposite foot (left foot for a right-hander on the forehand volley) into the ball. This transfers weight forward and produces power without a swing.
- Contact in front: Make contact well in front of your body — approximately level with your front hip. Contact behind the body is the most common forehand volley error and produces weak, late shots.
- Firm wrist at contact: The wrist does not flex or snap through the ball as it might on a topspin forehand. Keep the wrist firm and the grip pressure high through contact. The firmness of the wrist is what gives the volley its clean, crisp sound and feel.
- Short follow-through: The follow-through is brief — point the racket at your target and stop. There is no need to sweep across the body. The punching motion is complete when you have punched through the ball by about 20 to 30 centimetres.
- Racket face angle: Open the face slightly for lower balls (to lift them over the net) and close it slightly for high balls (to put them down into the court). The continental grip makes these adjustments natural and small.
Backhand Volley Mechanics
The backhand volley is often considered the easier of the two volleys at the net, particularly for players who struggle with a backhand groundstroke. The reason: the backhand volley is a one-handed shot for almost all players, even those who use a two-handed backhand from the baseline. The two-handed backhand simply cannot reach wide balls at the net, and the second hand restricts the wrist firmness required for a crisp volley.
Backhand Volley Step by Step
- Release the second hand: Two-handed baseline players should let the non-dominant hand slide off the grip before contact. Think of the non-dominant hand as guiding the racket back slightly (shoulder turn) and then releasing it as you swing forward.
- Lead with the elbow: On the backswing (which is still compact), pull the elbow forward and slightly across the body. The elbow leads the racket head into position rather than the wrist.
- Step with the front foot: Step forward with the dominant side foot (right foot for a right-hander on the backhand volley). This is the opposite foot from the forehand and produces a natural shoulder-forward position.
- Contact in front: Contact again occurs in front of the body. The backhand volley contact point is approximately level with the front foot — not behind it.
- Firm wrist: The wrist must be firm on the backhand volley — perhaps even firmer than on the forehand. A floppy wrist on the backhand produces volleys that skid into the net or lose all pace and direction.
- Short punch forward: The follow-through is a short punch toward the target. For defensive volleys (when you're stretched wide or pushed back), you may not even complete the punch — just block the ball back crosscourt with a firm face.
On defensive backhand volleys — balls hit hard at your feet or wide — reduce your swing to almost zero. Simply hold a firm continental grip and let the incoming pace redirect off your racket in the direction you're pointing. This is called a block volley and is the primary tool for handling a fast, aggressive passing shot attempt.
The Half Volley
The half volley is technically not a volley at all — it is a groundstroke hit immediately after the bounce, before the ball rises above the knee. It is a forced shot that occurs when an opponent hits at your feet as you approach the net and you have no time to let the ball rise to a comfortable height.
Unlike the true volley, the half volley cannot be avoided through technique or positioning alone. Even the best net players hit half volleys when an opponent hits a low, hard shot at the service-line transition zone. The goal is to execute it cleanly rather than panic.
Half Volley Technique
- Get low: Bend the knees deeply — much deeper than for a normal volley. The half volley requires you to get your eyes close to the level of the bounce. Bending at the waist instead of the knees is the most common error and leads to mis-hits.
- Short backswing: Keep the backswing even more compact than a normal volley. There is almost no time to take the racket back.
- Scooping motion: The racket face is open and the swing travels slightly upward through the ball to create lift. Think of scooping the ball over the net rather than punching through it.
- Aim crosscourt: The safest half volley target is crosscourt and toward the centre of the net — the lowest part of the net and the largest margin for error. A half volley down the line requires more precision than most players can produce under pressure.
- Continue forward: After the half volley, immediately continue moving toward the net. The half volley is a transition shot — your next position should be at the volley zone, ready to finish the point.
The Drop Volley
The drop volley is a touch shot — one of the most deceptive in tennis. It looks like a standard volley on preparation, but at the moment of contact the player slows the racket dramatically, absorbing the ball's pace so that it barely clears the net and dies close to it. A well-executed drop volley bounces twice before the opponent can reach it.
How to Execute a Drop Volley
- Disguise the preparation: The setup must look identical to a normal volley. Any early telegraph — a softening of the wrist, an opening of the face — tells the opponent what is coming and defeats the purpose entirely.
- Open the racket face at contact: As the ball arrives, open the face of the racket so it points upward at roughly 45 degrees. This generates the lift needed to clear the net with a soft ball.
- Slow down instead of punching: Rather than driving through the ball, let the racket come almost to a stop as it meets the ball. You are absorbing the pace, not redirecting it. The sensation is one of cushioning the ball rather than hitting it.
- Backspin is your friend: The natural motion of a drop volley produces a small amount of backspin, which checks the bounce and keeps the ball low after it lands. Aim to land the ball just a metre or so past the net.
- Use it when the opponent is deep: The drop volley works best when the opponent is at or behind the baseline — as far from the net as possible. If the opponent is already moving in, the shot becomes a neutral or negative play because they can reach it easily and produce a passing shot.
The Lob — When to Lob vs Pass
Understanding the drop volley requires understanding the alternative: the lob. When a player comes to the net, their opponent faces a choice between a passing shot (keeping the ball low and past the net player) and a lob (lifting the ball over the net player's head). Neither is always correct — the right choice depends on the situation.
Use a Passing Shot When
The net player is positioned too far back from the net (at or behind the service line). Angles are available wide. The ball is high enough to drive with pace. You have time to set up.
Use a Lob When
The net player is very close to the net with no room to retreat. You're stretched wide and cannot hit with pace. The net player is poaching aggressively. You need time to recover position.
Reading the Net Player
The key indicator for when to lob is the net player's proximity to the net. If their feet are within 1.5 metres of the net cord, they have almost no chance of retreating to handle a lob — it becomes an almost automatic winner. If they are positioned at 2 to 3 metres, a lob must be well-executed to clear them, and a passing shot may be equally effective.
Watch for the net player leaning forward aggressively — this is a strong signal to lob. A player leaning forward has committed their weight to the net and cannot spring backward quickly. An aggressive split step before a lob can also catch the volleyer while their feet are in the air.
The Topspin Lob
The topspin lob is the most effective lob against a net player because it clears their reach, curves down steeply into the court, and bounces away awkwardly. A flat or slice lob is easier to catch with an overhead smash because it travels in a predictable arc. The topspin lob, by contrast, accelerates after the apex of its flight and bounces unpredictably deep.
Execute the topspin lob with a full groundstroke swing but with the racket face angling steeply upward at contact. The brushing motion that creates topspin on a normal groundstroke is exaggerated — swing low to high more steeply than usual, finishing high above your shoulder. Aim to clear the net player's extended racket by at least 1 to 2 metres to give the topspin time to bring the ball back down into the court.
Approaching the Net
The approach shot is the bridge between the baseline and the net. It is the shot that sets up the volley — and a poor approach shot makes the volley either very difficult or impossible to execute well. The best volleyers in the world understand that the approach shot is at least as important as the volley itself.
Serve and Volley
Serve and volley is the most aggressive way to approach the net. The server hits the serve and immediately sprints toward the net, arriving at or near the service line by the time the receiver makes contact with the return. This was once a dominant strategy on grass courts and fast indoor surfaces — players like Stefan Edberg and Pete Sampras built careers around it.
In modern tennis, pure serve and volley is rarer due to powerful returns and slower court speeds. However, on grass courts and fast hard courts, occasional serve-and-volley on crucial points remains a valuable surprise weapon. A single well-timed serve-and-volley in a tight game can win a point and sow doubt in the returner's mind, often disrupting their return rhythm for several games.
The Approach Shot
The classic approach shot occurs when a short ball gives you the opportunity to advance. The principles:
- Approach direction — down the line vs crosscourt: The conventional wisdom is to approach down the line. This pushes the opponent wide and closes off one side of the court. A crosscourt approach leaves more court open for the pass. The exception: approach crosscourt to the weaker wing or when you have a sharp angle.
- Depth over pace: A deep approach shot is more valuable than a fast one. A ball landing near the baseline forces the opponent deep and gives you more time to close the net. A short, fast approach sits up for an easy passing shot.
- Slice or flat: Many players prefer a slice approach shot because it stays low and forces the opponent to lift the ball (making a high volley easier). A flat drive can also work if it is deep enough. Avoid heavy topspin approach shots — they bounce up into the opponent's strike zone.
- Keep moving after the hit: Do not stop to watch your approach shot. Hit and move simultaneously. By the time your approach lands, your feet should already be carrying you toward the service line or beyond.
The Split Step Before the Volley
The split step is the single most important footwork element for volleys, and it must be timed perfectly. As you approach the net, you take your final long stride and then hop into a small split — both feet landing at about shoulder width apart at the exact moment your opponent begins their swing. This tiny hop loads your leg muscles and enables explosive lateral movement in any direction. Without the split step, you are flat-footed and slow to react.
The timing error most players make is splitting too early — landing before the opponent contacts the ball — or too late. Drill the split step in practice until it becomes automatic. Use the cue: "Their swing begins, my feet land."
Closing to the Net
After the split step and the first volley, continue moving forward. The ideal sequence on an approach is: approach shot from baseline, sprint to service line, split step, first volley (ideally deep), sprint to 2 metres from net, second volley (ideally the winner). Many players make the error of stopping after the first volley — remaining at the service line, which is a no-man's land where both passing shots and lobs are effective against you.
Net Positioning
Where you stand at the net determines which shots you can cover and which shots will beat you. Net positioning is not a fixed formula — it shifts based on each ball and the opponent's location.
Ideal Depth
As established in the ready position section, 2 to 3 metres from the net is the standard. More specifically:
- After a volley that lands deep and pushes the opponent behind the baseline, move to 2 metres or closer. The opponent has little angle available and a lob is the main risk.
- After a defensive volley or a volley that sits up short, stay at 2.5 to 3 metres. You need time to react to a fast pass.
- Never position yourself between the service line and 3.5 metres from the net. This is no-man's land — too far from the net to angle volleys away, too close to react to a hard pass.
Covering Down-the-Line vs Crosscourt
The net player cannot cover the entire court simultaneously. The positioning principle is to take away the most dangerous shot and make the opponent use the lower-percentage option.
When standing in the centre of the court after a down-the-line approach, shift slightly toward the down-the-line side. The opponent's crosscourt shot crosses the lowest part of the net and has more court to land in — but it travels farther, giving you more reaction time. The down-the-line passing shot crosses the higher part of the net and has less court to land in — but it arrives faster.
Shade toward the down-the-line side to protect the faster, shorter shot. Let the opponent attempt the crosscourt pass with its higher net, and you will have time to move to it.
Poaching in Doubles
Net positioning in doubles adds the poach — a cross-court interception where the net player abandons their position to cut off a return aimed at the server. The timing of a poach:
- Move as the opponent's racket begins its forward swing — not before, which telegraphs your intent.
- The server must immediately cross to cover the vacated side the moment you begin the poach.
- Aim the poach volley at a sharp angle, at the feet of the receiver's partner, or down the line past the receiver.
- Fake poaches — moving then returning — are equally valuable for disrupting the returner's rhythm.
Common Volley Errors and Fixes
Most volley errors fall into predictable categories. The table below identifies the most common mistakes, their root causes, and the specific corrections that resolve them.
| Error | Root Cause | Fix |
|---|---|---|
| Ball goes into the net | Racket face too closed at contact; contact too late (behind the body) | Open the face slightly; move contact point further in front of the body |
| Ball floats long | Racket face too open; follow-through too long; wrist flipping at contact | Close face on high balls; shorten punch; firm the wrist before contact |
| Mis-hit / lack of control | Too much backswing; contact off-centre; grip pressure too loose | Reduce backswing to shoulder turn only; watch ball onto strings; firm grip |
| Weak volley with no pace | Punching at the ball instead of through it; stepping back instead of forward | Step into the ball; drive the shoulder forward; use the opponent's pace on fast balls |
| Late on backhand volley | Attempting a two-handed backhand volley; grip too eastern; insufficient shoulder rotation | Release the second hand; use continental grip; lead with elbow to contact point |
| Balls at feet cause errors | Not bending knees; no split step; standing too close to the net | Bend deeply through the knees; perform split step on contact; position 2-3m from net |
| Shanked volleys under pressure | Looking at the target instead of the ball; grip pressure too tight causing tension | Watch the ball until contact; relax the grip slightly before contact, firm at impact |
| Poor positioning — caught in no-man's land | Stopping after approach shot or after first volley | Always split step then continue forward; aim for 2m from net after first volley |
Volley Drills
Volley technique develops fastest through repetition with immediate feedback. The drills below range from solo practice to partner drills and address both consistency and pressure situations.
1. Wall Volleys (Solo)
Stand 2 to 3 metres from a practice wall and volley the ball repeatedly — forehand and backhand alternating — using a compact punch each time. The wall returns the ball with pace similar to a real shot, and the short distance forces the compact technique required at the net.
Progression: Begin with slow, controlled taps. Progress to a continuous alternating forehand-backhand sequence. Add footwork by shuffling laterally between each volley. Aim to complete 30 consecutive volleys without dropping the ball.
2. Hand Feed from Service Line (With Partner)
One player stands at the net in the ready position. Their partner stands on the opposite service line and hand-feeds balls (underarm throws) alternating to the forehand and backhand side. The volleyer must punch each ball back cleanly and return to the ready position between feeds.
Focus: Emphasise the split step before each feed, the continental grip throughout, and the compact punch with no backswing. This drill allows the coach or partner to control pace, height, and direction to target specific weaknesses.
Progression: The feeder increases the pace of throws. The feeder adds feeds at the feet (half volleys). The feeder alternates soft feeds (which require the volleyer to create their own pace) with fast feeds (which require simple blocking).
3. Rapid-Fire Volley Drill (With Partner)
Both players stand inside the service lines — one on each side of the net — and volley rapidly back and forth, staying as close to the net as possible. The point is to develop fast hands, quick reactions, and the instinct to keep the racket face firm under pressure.
Rules: No groundstrokes — every ball must be volleyed before or immediately after the bounce. Keep rallies going as long as possible. Competitive version: first to let the ball bounce past them loses the point.
Progression: Add targets — small cones or markers in corners — and score points for hitting them. Add directional constraints: only crosscourt, only down the line, or signal a direction change mid-rally.
Frequently Asked Questions
Do I need to change grip for the volley?
Use the continental grip for both forehand and backhand volleys — it is the only grip that works for both sides without the delay of switching. If you volley with a forehand grip, your backhand volley will be structurally weak. Practice hitting volleys with the continental grip from close range until it becomes automatic.
Why do I keep hitting volleys into the net?
The most common cause is dropping the racket head below the wrist — if the head drops, the face closes and the ball goes down into the net. Keep the racket head above your wrist at all times on volleys. The second common cause is taking a full backswing — the volley requires only a compact punch motion, not a full swing.
When should I come to the net in recreational tennis?
Come to the net after you hit a short ball that lands inside your opponent's service line, forcing them to reply defensively. Hit your approach shot deep and down the line, then advance to the net behind it with a split step timed to their contact. Avoid approaching after a deep groundstroke — your opponent has too much time to pass you.
Is the volley less important in modern tennis?
The baseline game dominates modern professional tennis, so the volley is used less frequently than in the serve-and-volley era of the 1980s-90s. However, the ability to finish points at the net is still a decisive skill — especially in doubles, on faster surfaces like grass and indoor hard courts, and at recreational level where players rarely train net play at all.